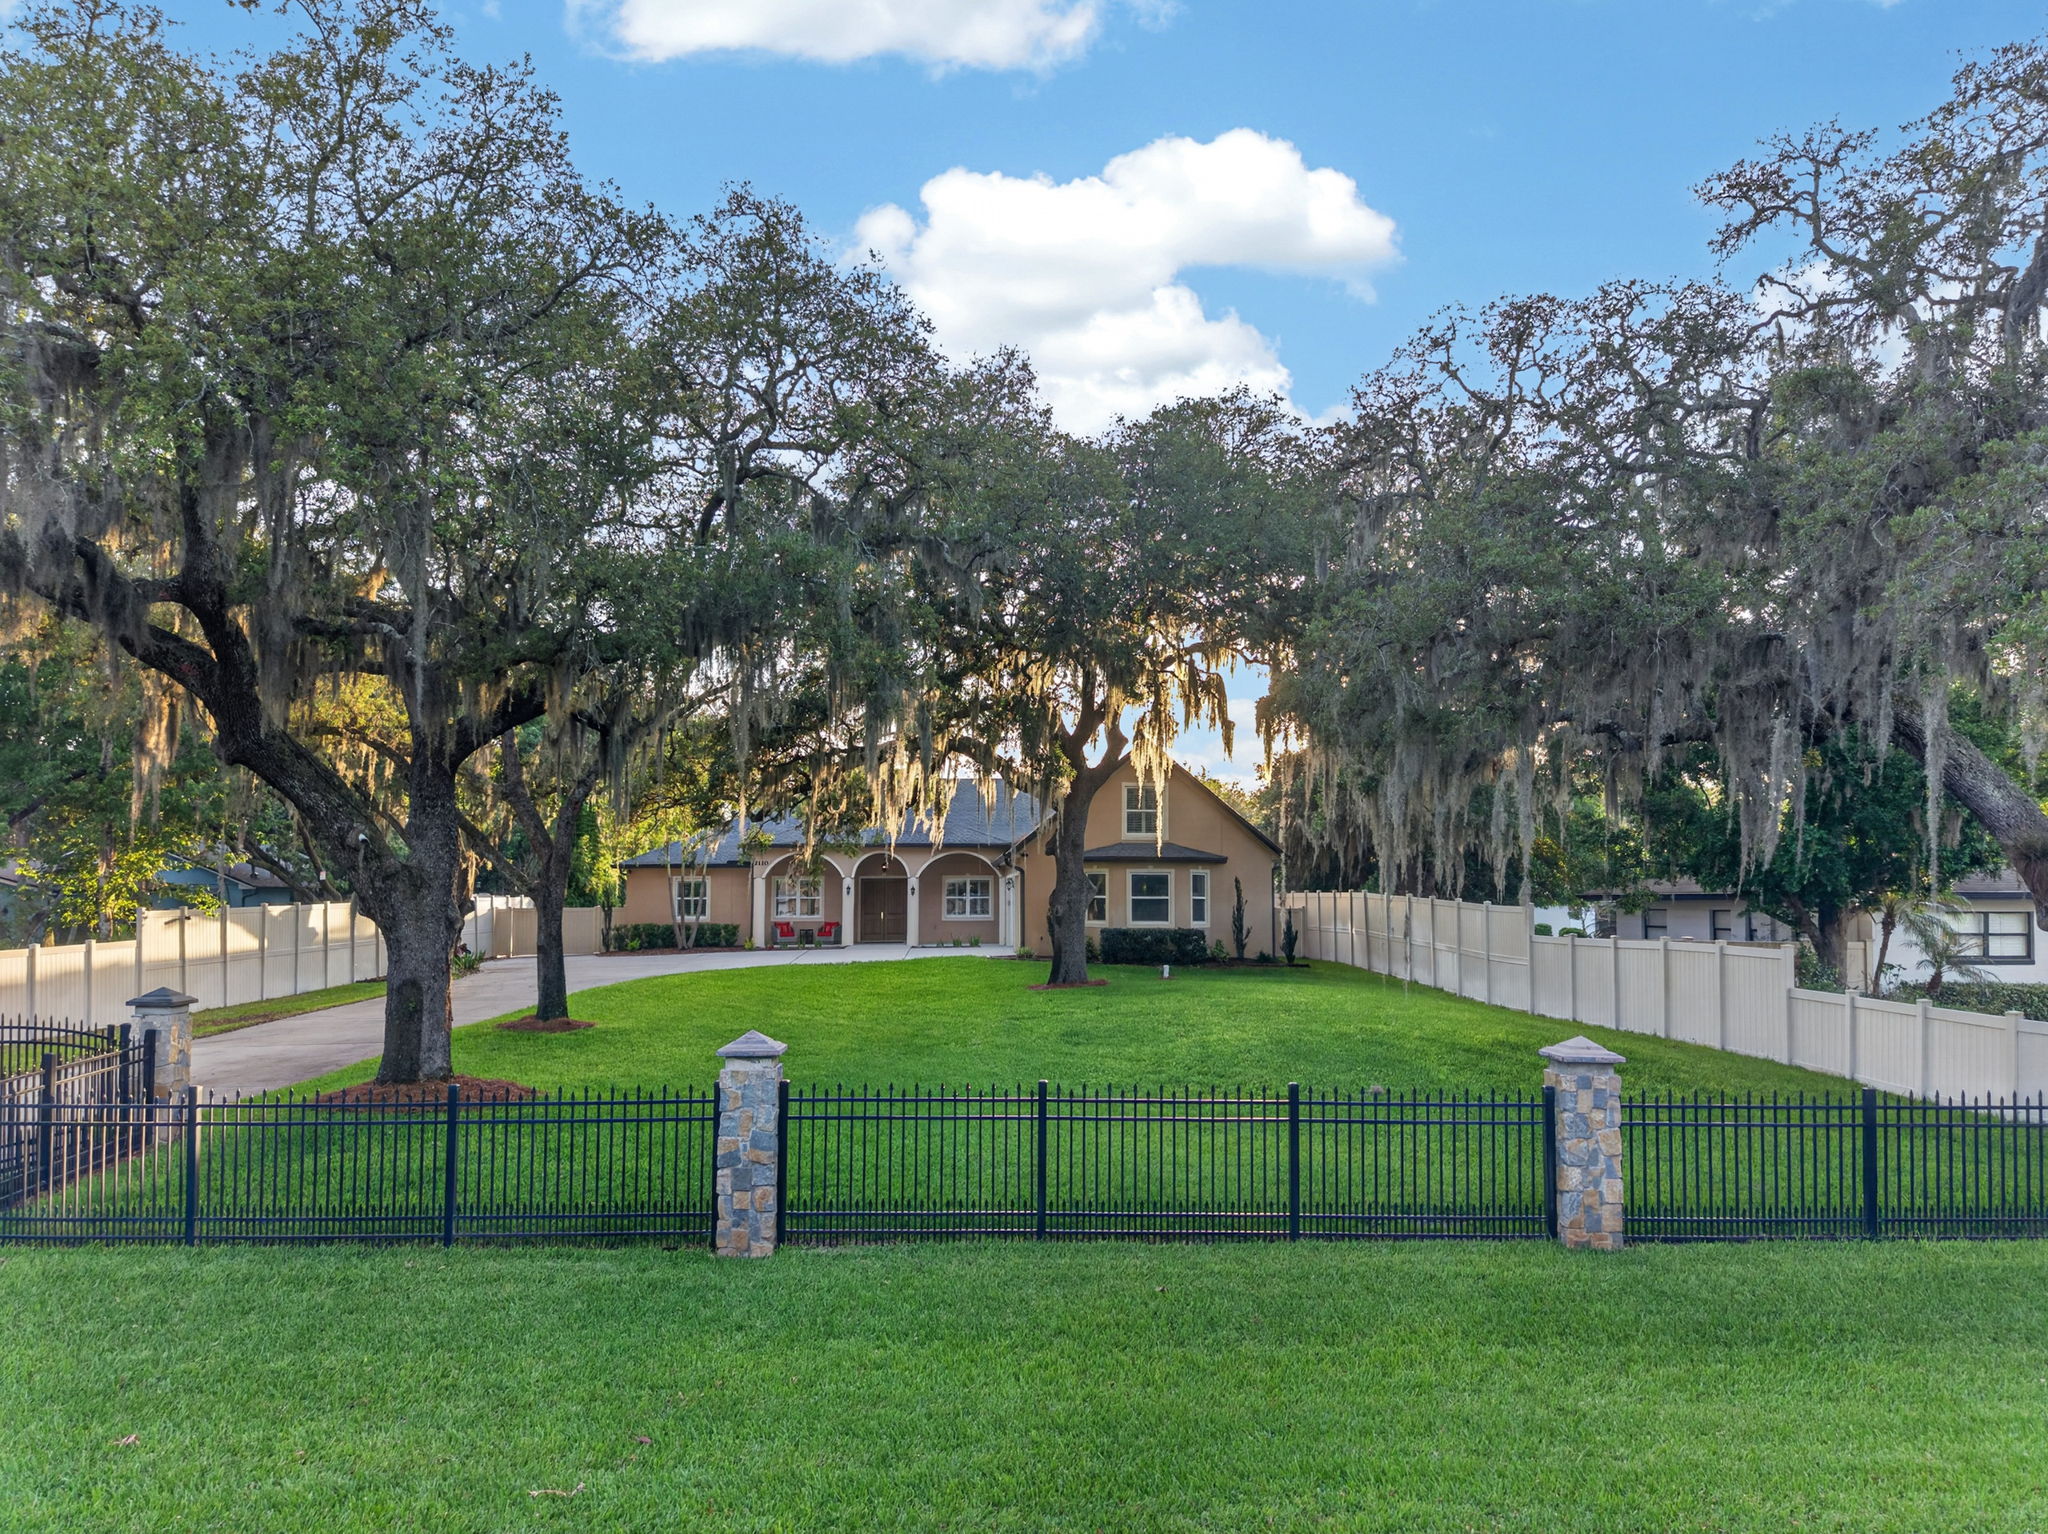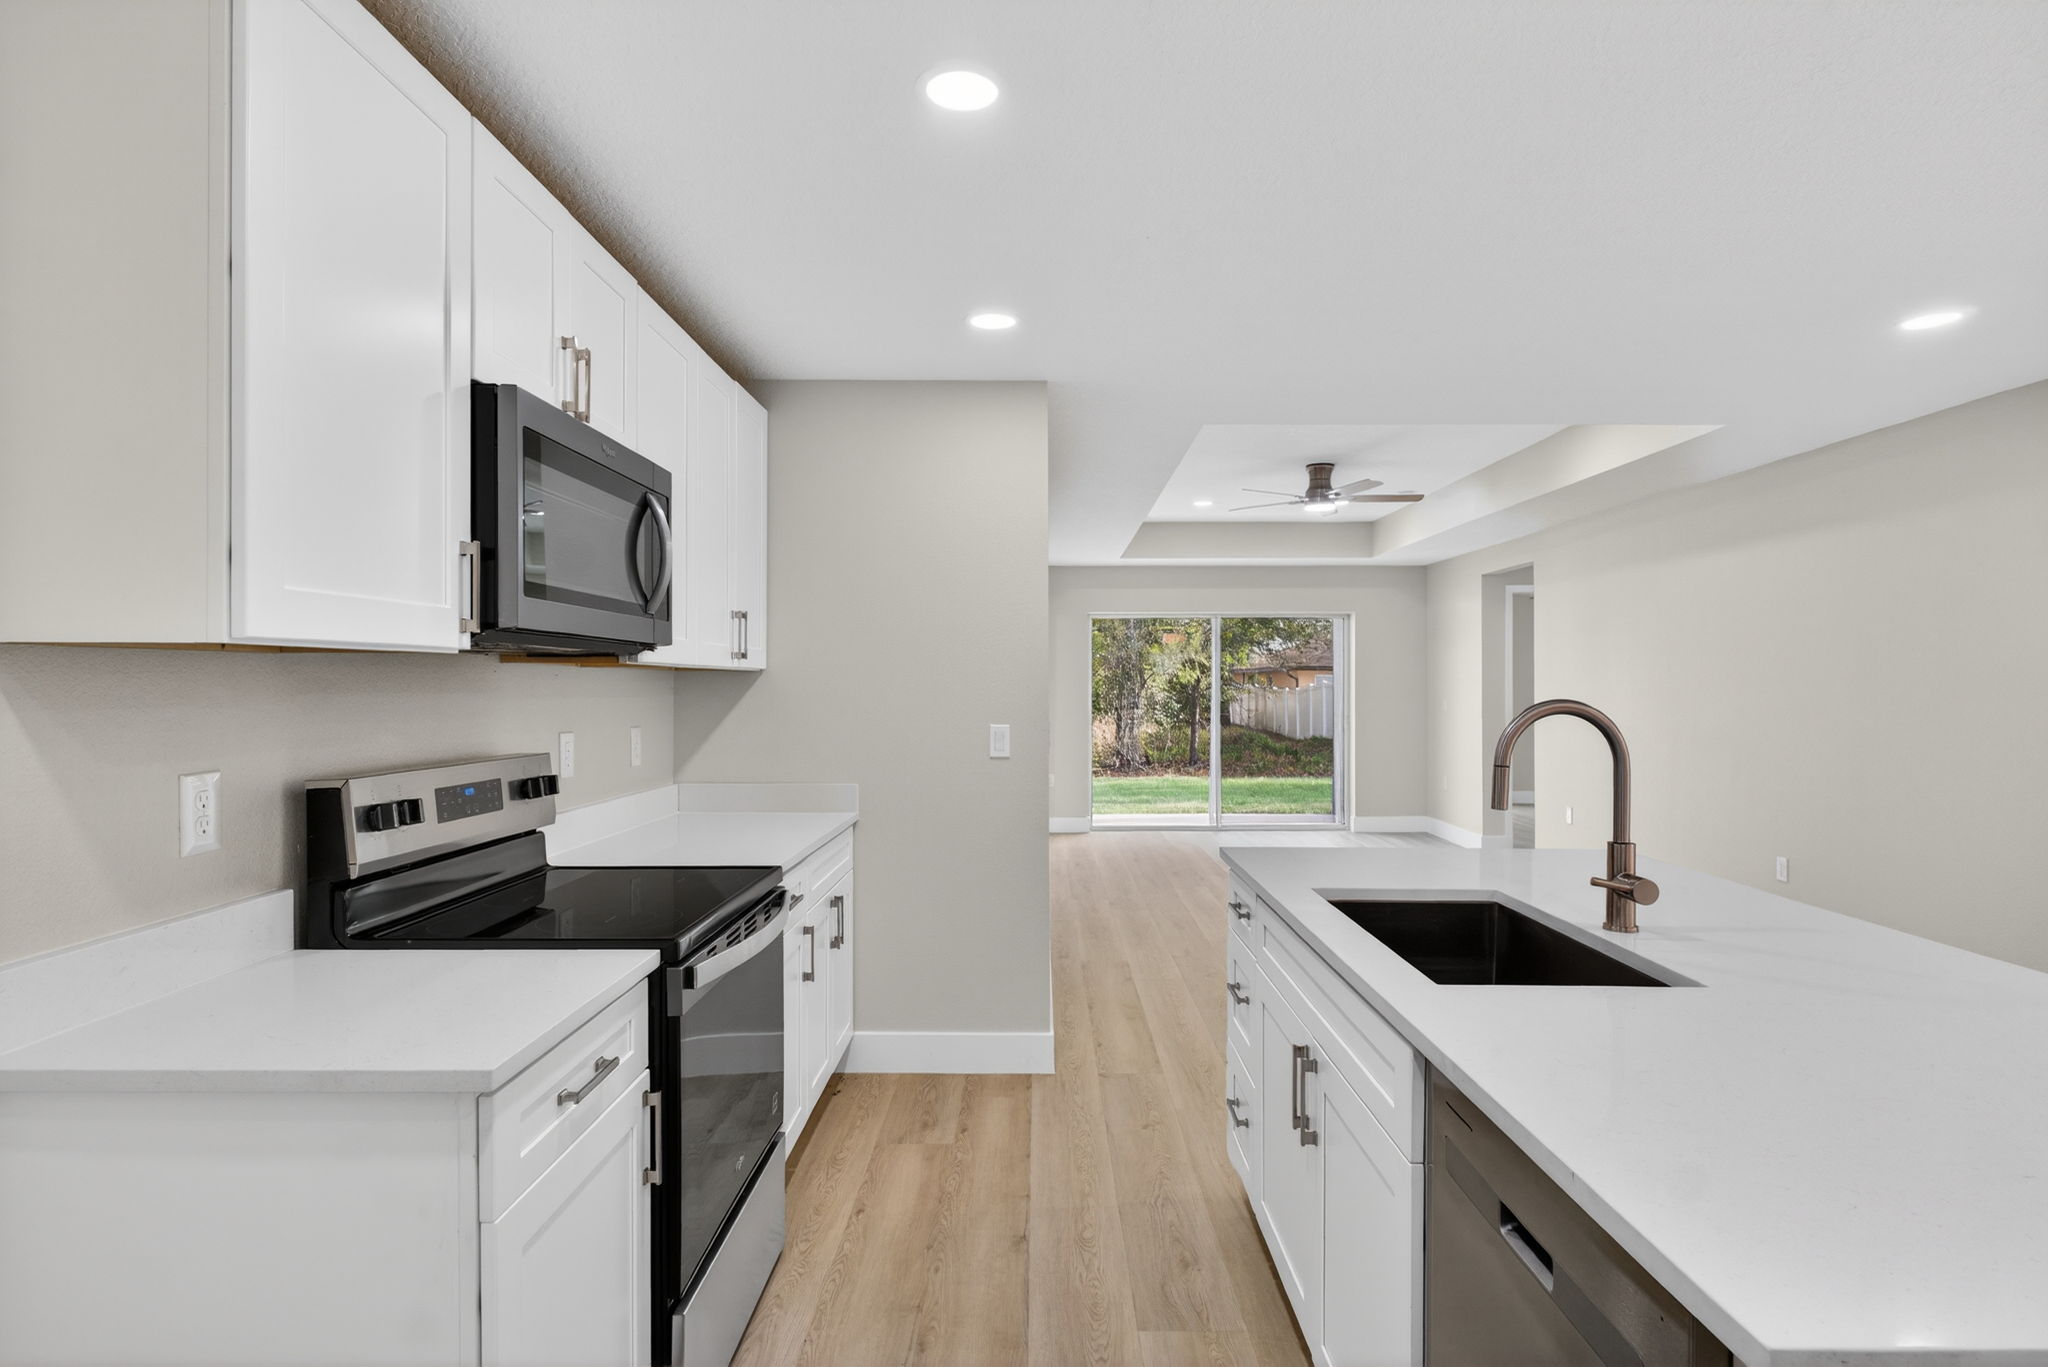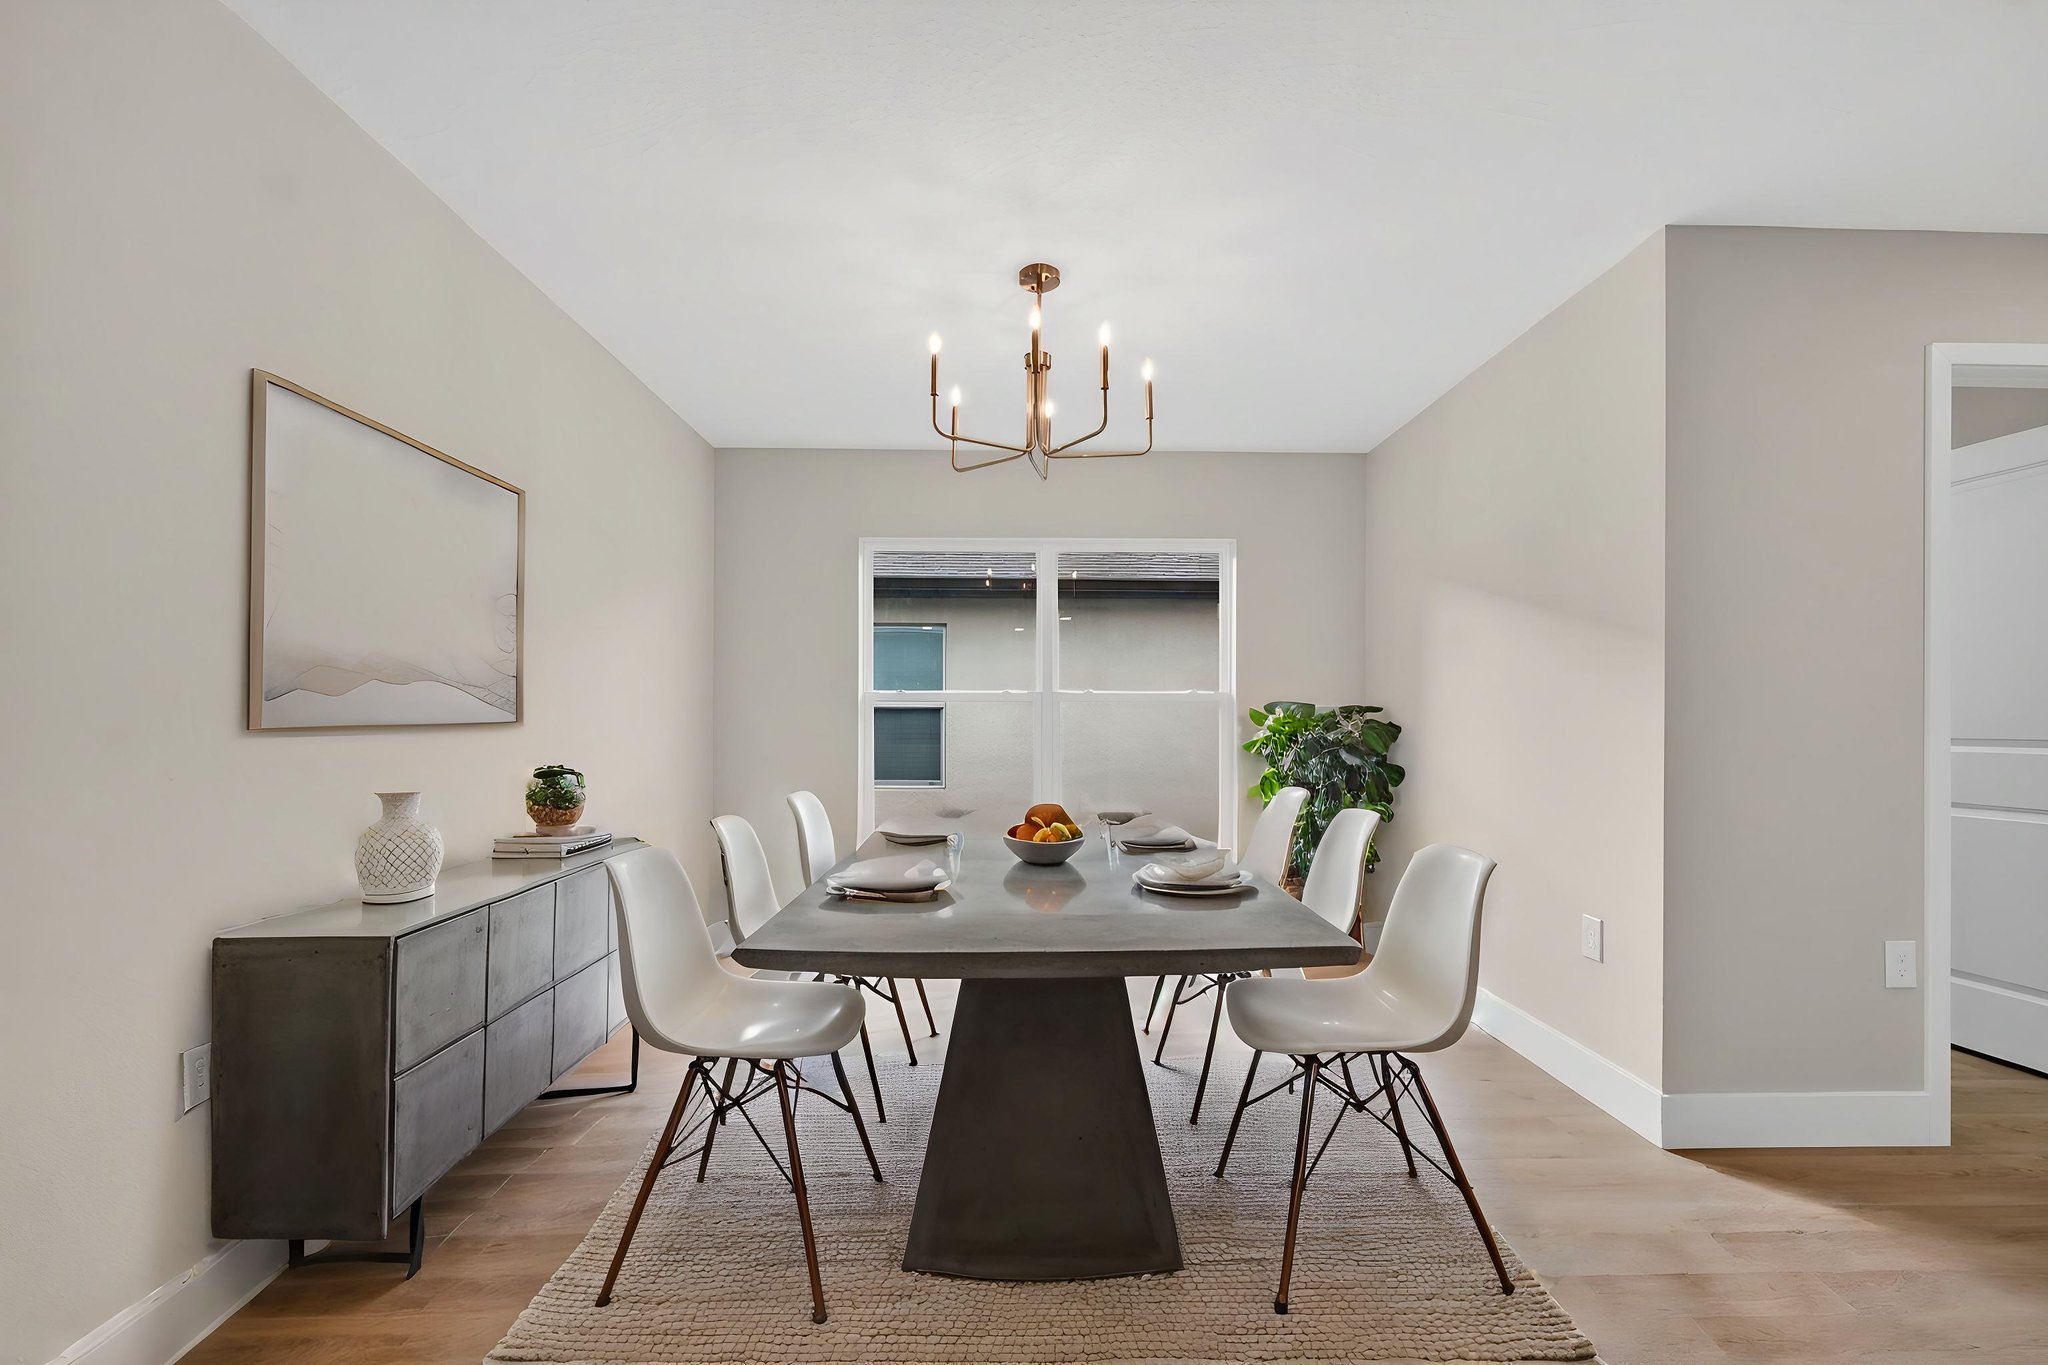
Use this quick review before publishing a listing. It catches the issues that are expensive to fix after launch.
The short answer
First confirm every ordered item arrived. Then check that the home is represented truthfully, inspect the most important images at full size, identify the correct MLS files and links, and set the opening photo sequence. If something needs attention, send the exact file name, visible issue, factual correction, and listing deadline.
1. Confirm the full delivery
Start with the order confirmation, not the thumbnail grid. Check the services you booked: interior and exterior photos, drone media, twilight, floor plan, Zillow 3D or another tour, property-site links, video versions, and virtual-edit files.
Some products have different delivery times. A missing video is not necessarily late if its stated timeline has not passed. Use the turnaround guide for the relevant product.
2. Check accuracy and technical quality
Compare the gallery with the home. Permanent features, room proportions, materials, colors, views, and condition should remain believable. Virtual staging and object removal should not hide a material feature or defect.
Open the hero exterior, kitchen, primary living area, primary bedroom, key view, and likely MLS lead image at full size. Look for missed focus, extreme stretching, uneven color, editing seams, halos, duplicated objects, ghosting, warped edges, and implausible reflections.
Virtual twilight, sky replacement, and virtual staging can be useful. Keep the original file and confirm the brokerage's and MLS's disclosure rules before upload.
3. Prepare the MLS and listing sequence
Use the photographer's MLS-ready download, then check the current rules of the MLS where you will enter the listing. There is no universal Florida image-size, branding, or virtual-media rule.
Confirm that branded and unbranded links are clearly identified, files are named sensibly, and the selected hero image is the right one. A practical opening order is: strongest truthful exterior or signature interior, main living space, kitchen or other key feature, primary suite or view, then a frame that explains context or flow.
Check the gallery and property site on a phone. Buyers often meet the listing in a cropped card or carousel first.
4. Send an actionable revision request
Avoid “the photos look off.” Instead write: “File 18, kitchen facing island: cabinet color is much warmer than in person and does not match files 16 and 17. Please correct to match. Upload is tomorrow at 3 PM.”
Use this launch checklist:
- All ordered deliverables are present or within their stated timeline.
- Features, proportions, colors, and virtual edits are accurate.
- Hero images are sharp and clean at full size.
- Important rooms and selling features are covered.
- MLS files and correct unbranded links are identified.
- The first five images support the listing strategy.
- Revision requests name the file, issue, correction, and deadline.
Keep the original delivery intact until the listing is published. It gives you a clean reference if an MLS upload changes a file, a virtual edit needs a disclosure check, or a correction must be compared with the first version.
If the property changed after capture, call it a reshoot rather than an edit. The real estate photography service explains the standard delivery.